Follow-up of inspections
- 01 Apr 2025
- Afdrukken
- DonkerLicht
- Download PDF
Follow-up of inspections
- Bijgewerkt op 01 Apr 2025
- Afdrukken
- DonkerLicht
- Download PDF
The content is currently unavailable in Dutch. You are viewing the default English version.
Samenvatting van het artikel
Vond je deze samenvatting nuttig?
Bedankt voor uw feedback
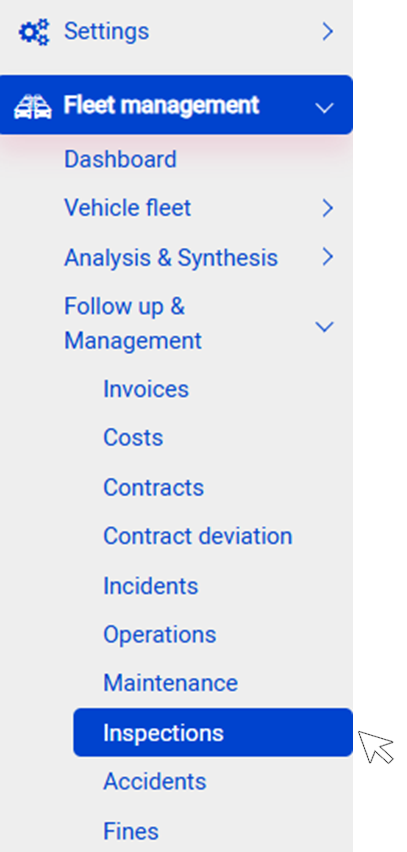
Display the inspection module
Intermediate inspection module
The Intermediate Inspection module has been designed for a structured and detailed monitoring of the condition of your vehicles. It allows you to anticipate interventions, reduce or eliminate return costs, but also optimise budget management and plan the maintenance of your fleet efficiently.
The process is simple:
- You initiate inspection requests that drivers receive on their Optimum Connect mobile app.
- Drivers carry out the inspection from their app and send you the audit.
- You receive the audit on the platform in real time and initiate repairs if you wish.
The inspection is carried out in 6 steps:
- Step 1: Inspection requestStep 2: Completion of the form by the driverStep 3: Validation of the inspectionStep 4: Export the reportStep 5: Import of the analysis reportStep 6: Creation of damage and closure of the inspection
Step 1: Inspection request
In this first stage, the administrator initiates the process by scheduling an inspection request. This paves the way for regular and planned monitoring of the condition of your vehicles.
From the platform, the administrator can send an inspection request to users, with the option of setting up a recurring schedule for regular checks.
In the Inspections menu, click on the New button.
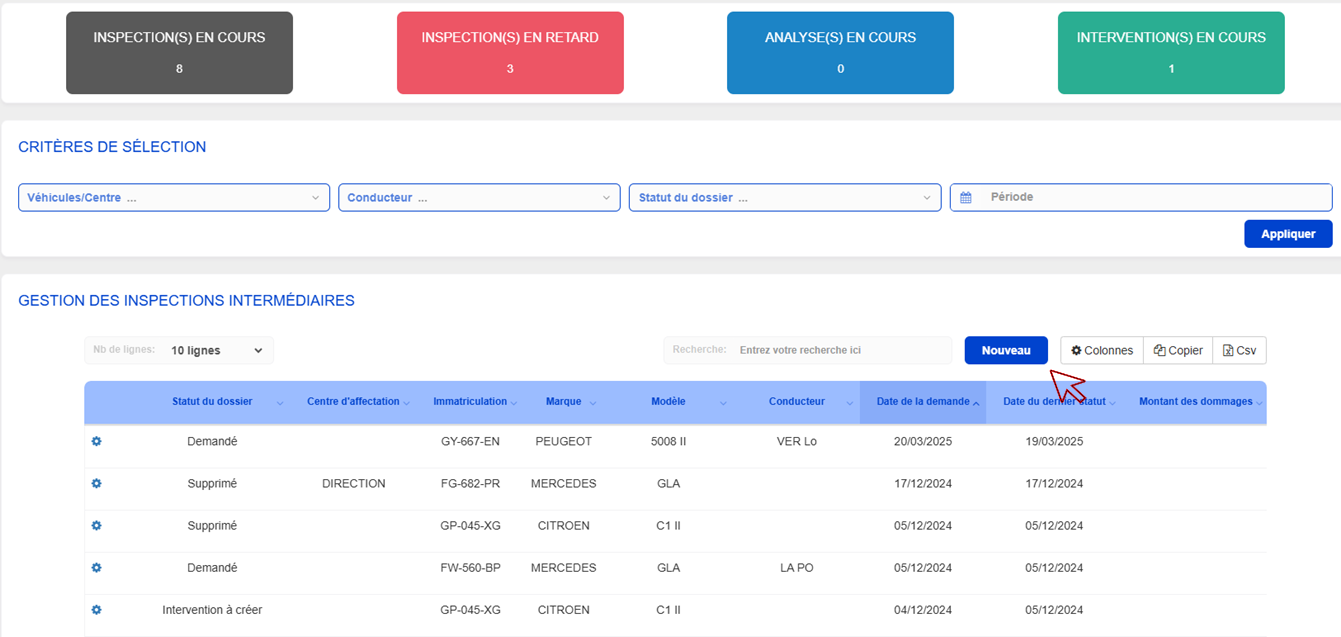
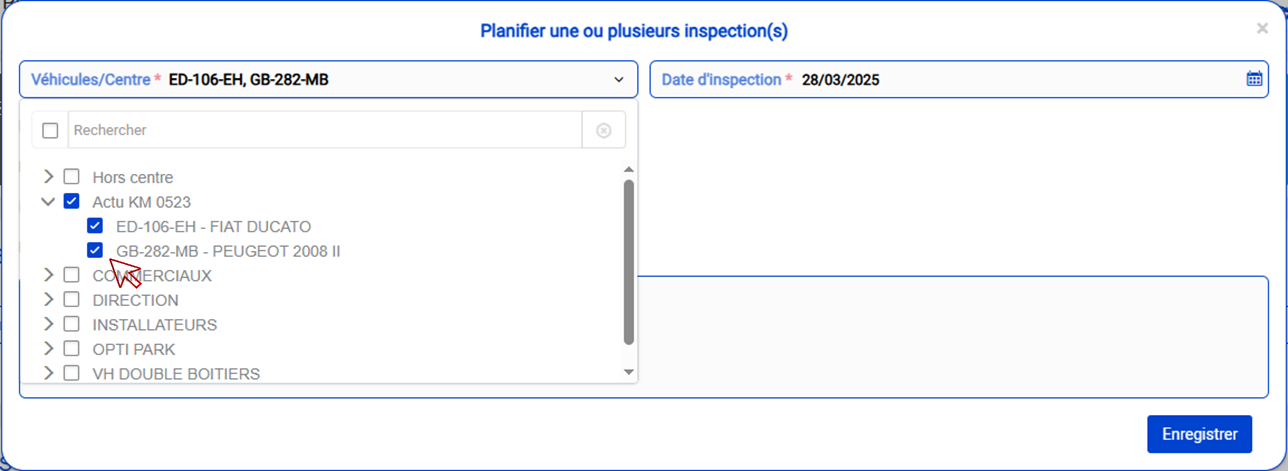
This action opens the inspection creation window, which requires specifying the vehicle(s) concerned, the date and the activation of recurrence, if applicable.

- Select the vehicle(s) concerned. You can choose a single vehicle or use the multiple selection by group or user to save time.
- Choose the date of the inspection and activate the recurrence if you wish to schedule regular inspections (for example, monthly).
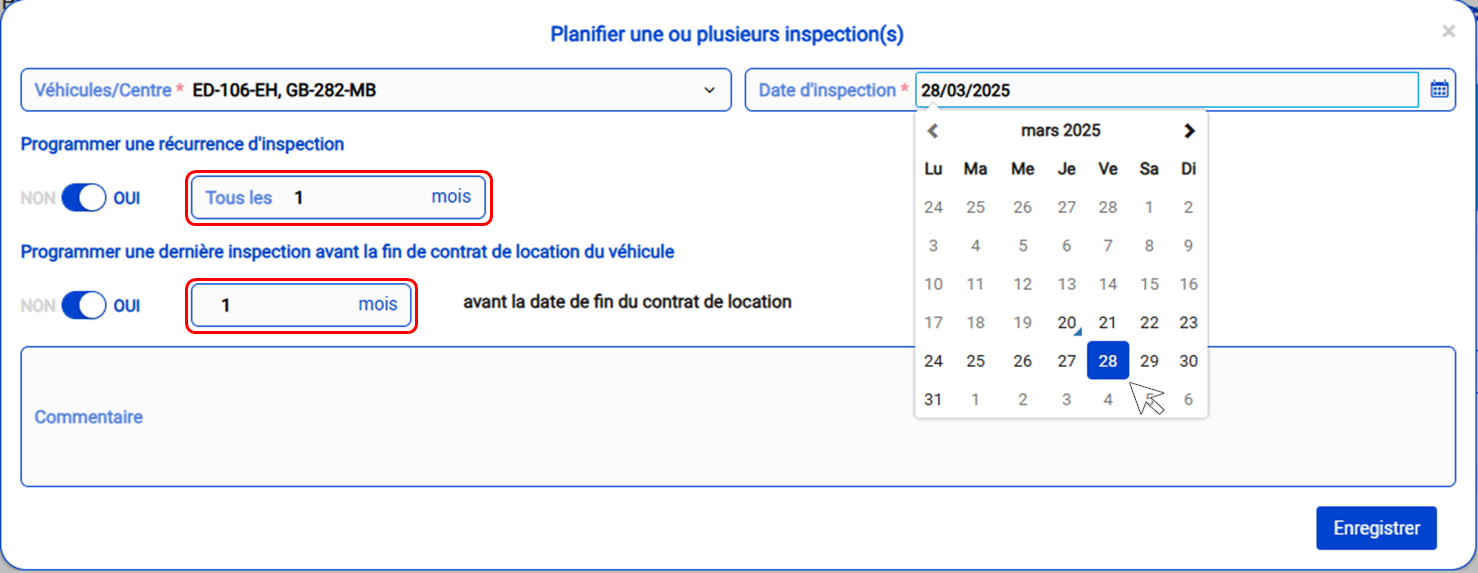
Please note
Don't forget to click on Save to validate your planning.
- Mass creation:
Use the multiple selector (by group or by user) to facilitate the simultaneous creation of inspections for a large number of vehicles.
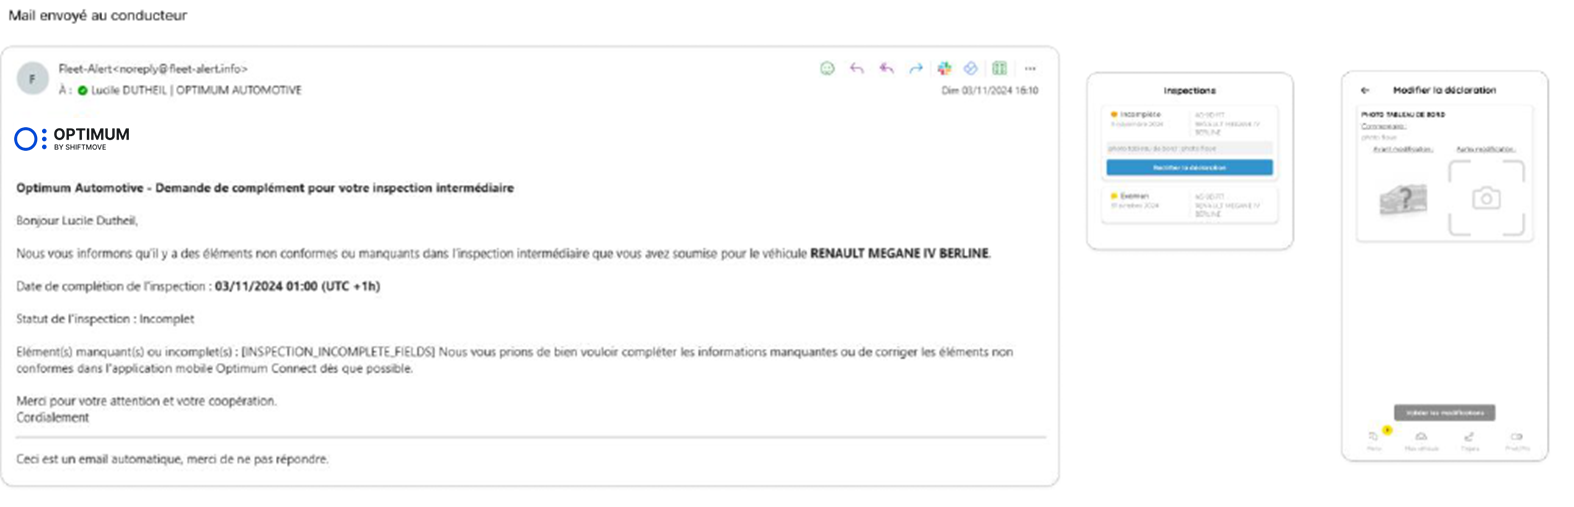
Step 2: Completion of the form by the driver
Once the request has been sent, the driver takes over to carry out the inspection. This step guarantees the collection of a maximum of relevant data for an accurate diagnosis.
- Notification and access:
- The driver receives a notification (push and email) inviting him to complete his inspection.
- Entering key information:
- They must enter the current mileage, report any abnormal noises and take a series of detailed photos of the vehicle.
- The driver fills in the following information:
- Current mileage: Enter the mileage to assess the wear and tear of the vehicle.
- Detection of abnormal noises: Report any unusual noise.
- Taking photos: A series of photos is requested:
- Exterior (front, rear, sides)
- Interior
- Wheels and tyres (front view for the condition of the rims)
- Any damage
- Sending the form:
- Once completed, the form is submitted to the manager for validation.

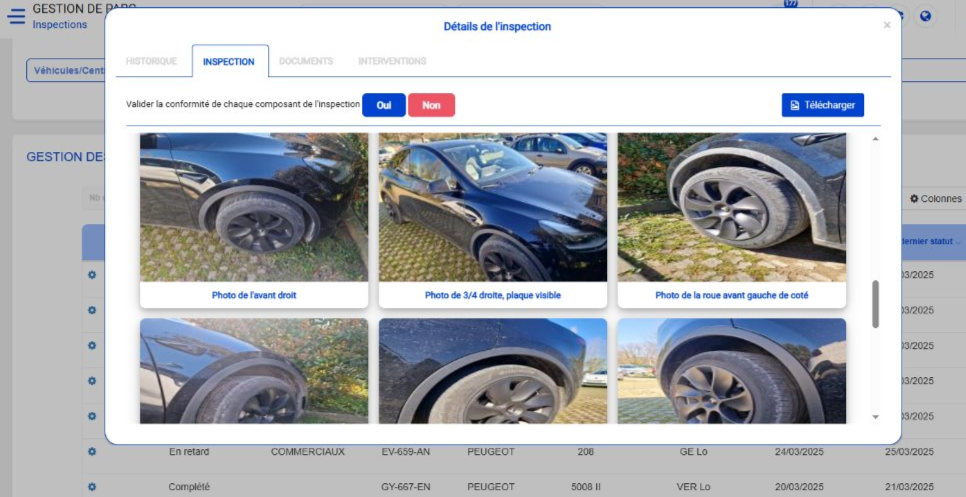
Step 3: Validation of the inspection
At this stage, the administrator plays a crucial role in quality control. Validation ensures that all the information collected complies with the requirements of the inspection.
- Review by the manager:
- The administrator checks all the information and photos provided.
- Validation or request for correction:
- If the form is compliant, the inspection goes to ‘Analysis in progress’.
- In the event of non-compliance (blurred photo, inadequate framing, etc.), the administrator may reject the inspection and request that certain shots be retaken, specifying the elements to be corrected.
- Notification to the driver:
- The driver is informed by email and via the application if corrections are necessary.
Step 4: Export the report
Once the inspection has been validated, you can export a full report. This report constitutes a detailed archive of the data collected for subsequent monitoring.
- Full export:
- Once the inspection has been validated, you can export a report in ZIP format, containing all the high-quality photos and a PDF summary document including all the comments.
Step 5: Import of the analysis report
After export, the experts analyse the data. This step allows the analysis to be centralised and corrective actions to be prepared if necessary.
- Analysis by the experts
- The analysis report produced by the experts is imported onto the platform.

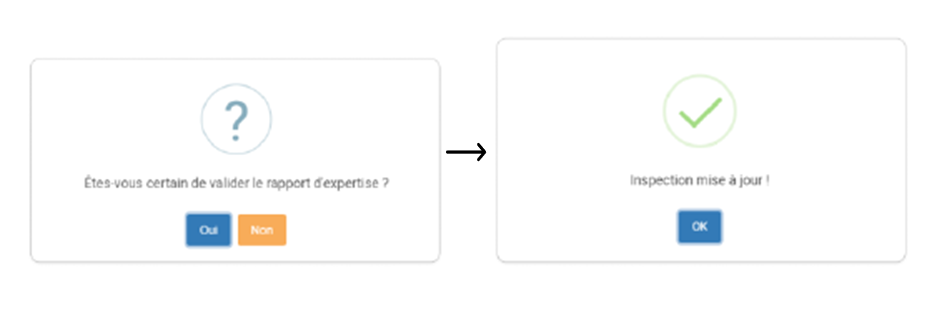
- Adding and validating the report:
- The document is included in the ‘Documents’ section. You must then validate it to finalise the inspection follow-up.
Step 6: Creation of damage and closure of the inspection
The last step of the process aims to formalise the actions to be taken in the event of damage. It also allows the inspection to be closed and the recurrence to be stopped if necessary.
- Creation of interventions:
- If damage is identified, the administrator can create interventions by clicking on ‘YES’. The damage is classified into four statuses:
- In progress
- Planned
- Action to be planned before return
- Return costs to be anticipated
- End of inspection:
- If no action is required, click on ‘NO’ to end the inspection. The recurrence of the inspection is automatically cancelled when the vehicle is removed.
Was dit artikel nuttig?