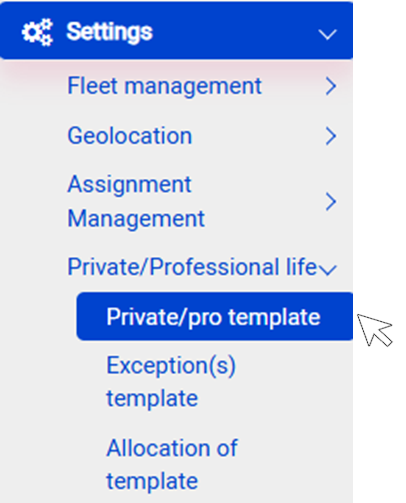
Private / Professional life
- 29 Jan 2025
- Print
- DarkLight
- Download PDF
Private / Professional life
- Updated on 29 Jan 2025
- Print
- DarkLight
- Download PDF
Article summary
Did you find this summary helpful?
Thank you for your feedback!
Setting up your canvas
By default, the framework applied to all drivers is 100% Professional (24/7).
Create a canvas
1. Enter a name for this canvas
2. Set up the canvas for all days of the week: click in the blue gauge to insert a private period (RED) and stretch it to the desired time.

3. Private periods are listed on the left of the gauge.
4. Scheduling: select the weeks of the year for which this schedule applies.
5. Don't forget to SAVE.
Do this as many times as you want to set up different canvases.
Edit a canvas
1. Select the relevant canvas from the list.
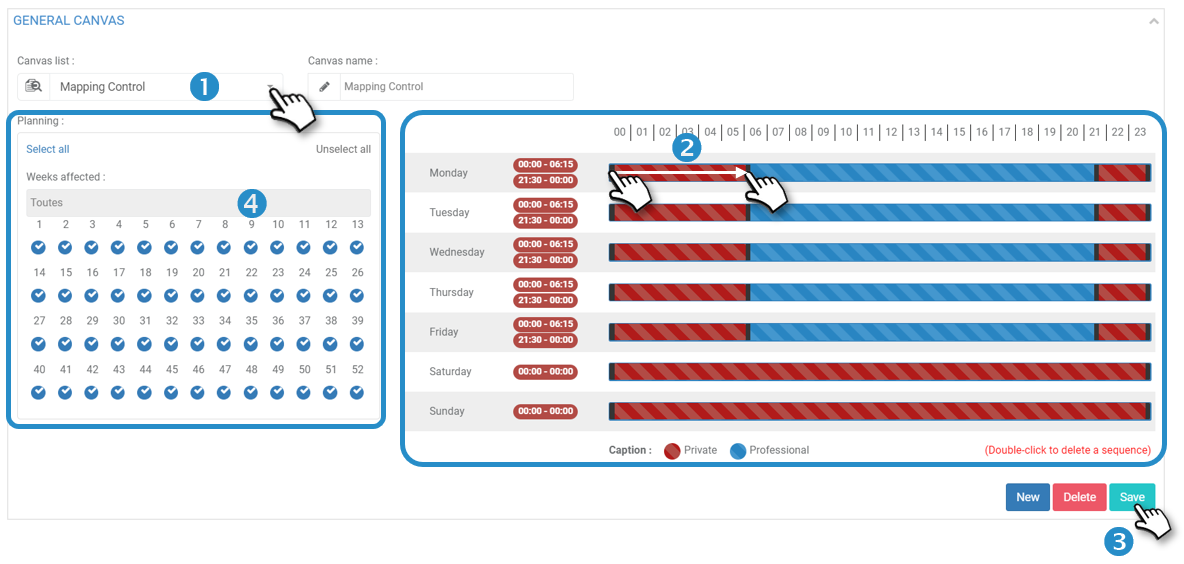
2. Make the desired changes.
3. SAVE your changes.
Delete a canvas
1. Select the relevant canvas from the list.
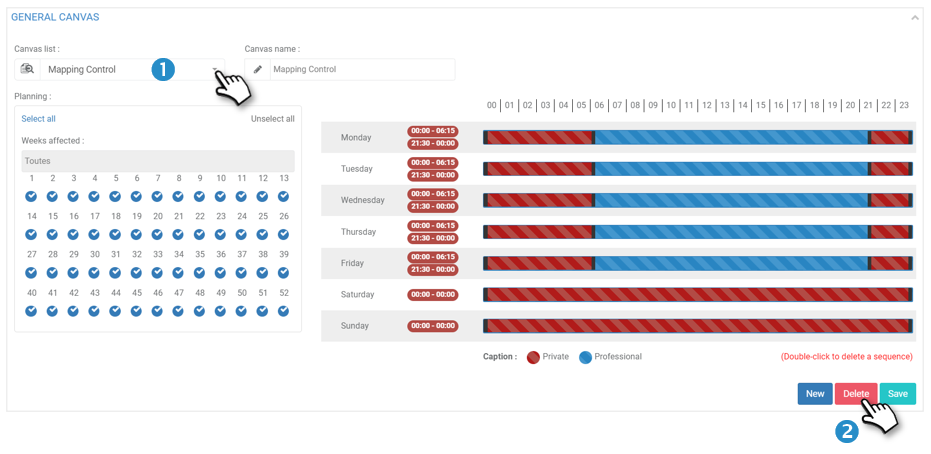
2. DELETE the canvas.
To remember:
- Create and SAVE as many working canvases as you like
- Modify and delete templates at will
Linking canvases to drivers
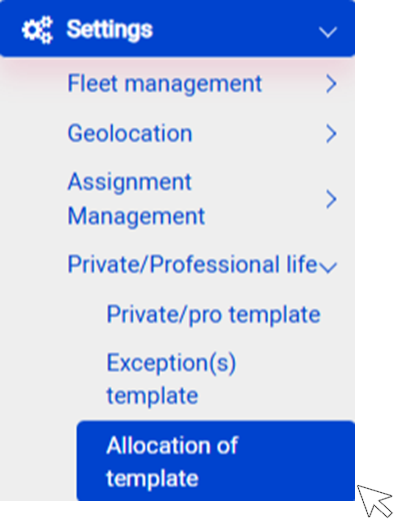
Association by canvas template
1. Select a template from the list.
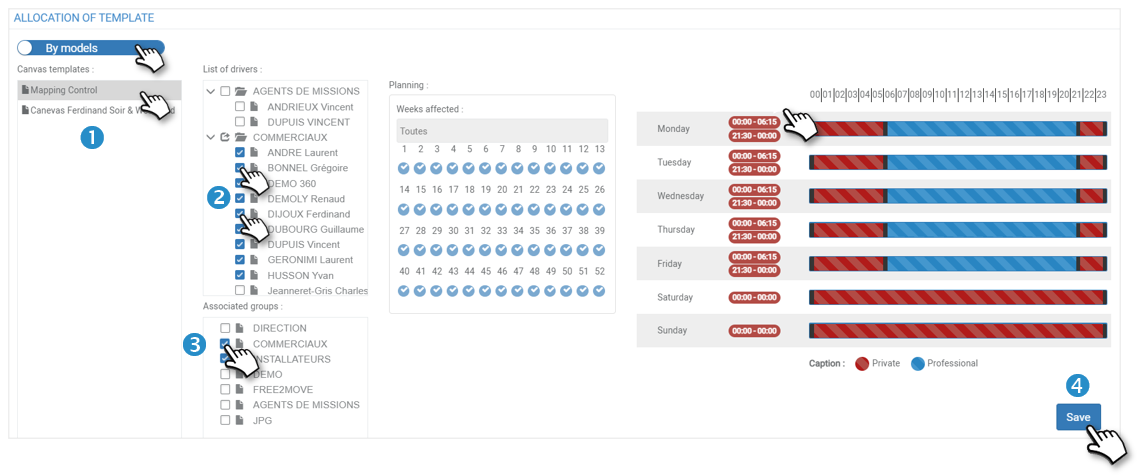
2. Check the collaborators you want to associate with this canvas.
3. You can also check off Groups of collaborators.
4. Do not forget to SAVE.
Go to the next canvas in the list.
Collaborators can be associated with more than one canvas, provided they do not overlap.
Association by employees or groups
1. Select one or more COLLABORATORS from the list.
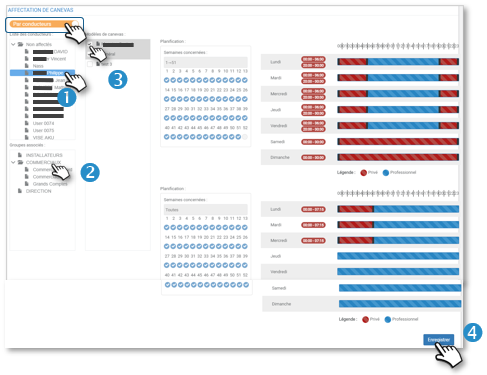
2. AND/OR select one or more GROUP(S) of collaborators.
3. Check the canvas(s) you want to associate with your selection of collaborators
4. Do not forget to SAVE.
Go to another selection of collaborators.
Collaborators can be associated with more than one canvas.
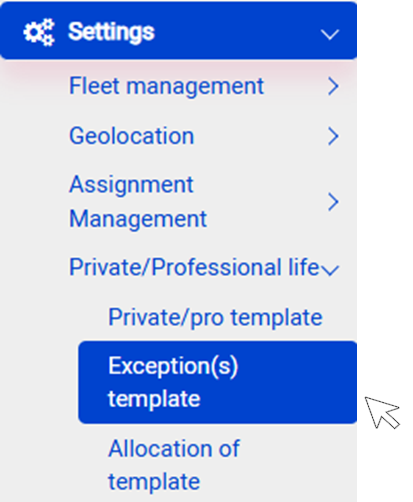
Setting up an exception for all or some drivers
These exceptions will take precedence over the frameworks applied. They may be days of on-call duty, public holidays, leave, sick leave, time off work, etc.
1. Click on NEW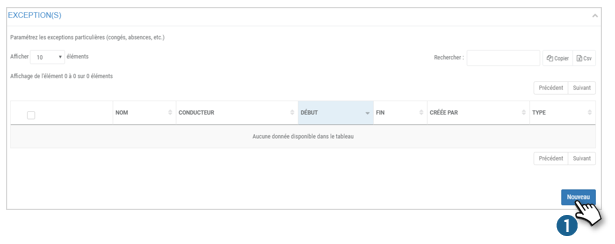
An exception entry window has just opened. Select the desired options:

2. Enter the name of the exception.
3. Select the Driver.
4. Select the type of exception: Private or Business
5. Select the start and end dates.
6. Do not forget to SAVE.
7. The exception is added to the list:
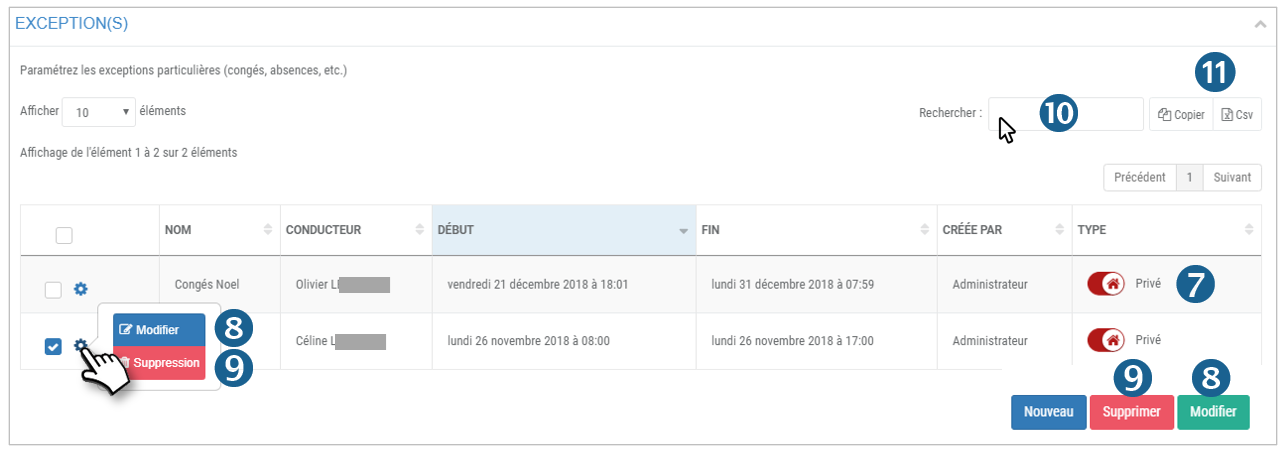
In this table you can find all the exceptions that have been SAVE. You can :
8. MODIFY an exception by clicking on  and then MODIFY or by ticking the box and clicking on MODIFY.
9. DELETE an exception by clicking on then DELETE or by checking the box and clicking on DELETE.
10. Perform a keyword search
11. Copy or export the table in .csv format
To remember:
Exceptions take precedence over applied frameworks
Was this article helpful?