Alerts configuration
- 07 Oct 2021
- Print
- DarkLight
- Download PDF
Alerts configuration
- Updated on 07 Oct 2021
- Print
- DarkLight
- Download PDF
Article summary
Did you find this summary helpful?
Thank you for your feedback!
In the list of tags, click on the tag for which you want to set up an alert.
1. In the administration module, click on 
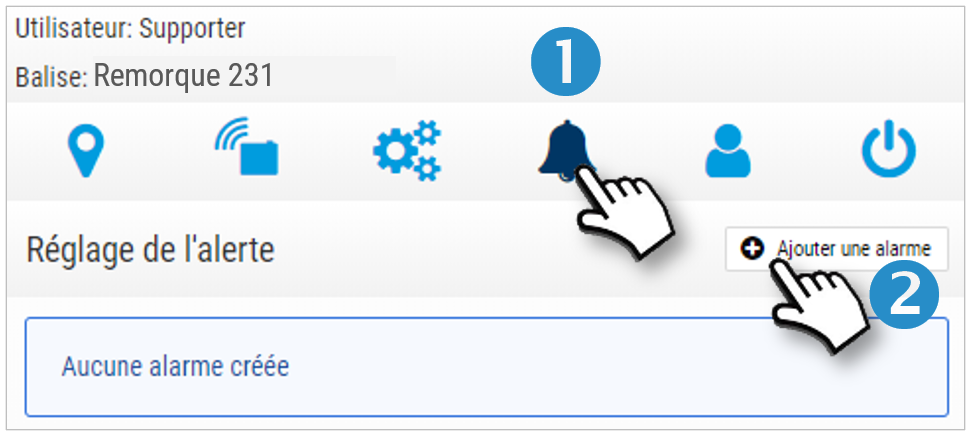
No alerts are configured by default.
New alert
2. Click on  to set up an alert.
3. A window opens with the configuration parameters:
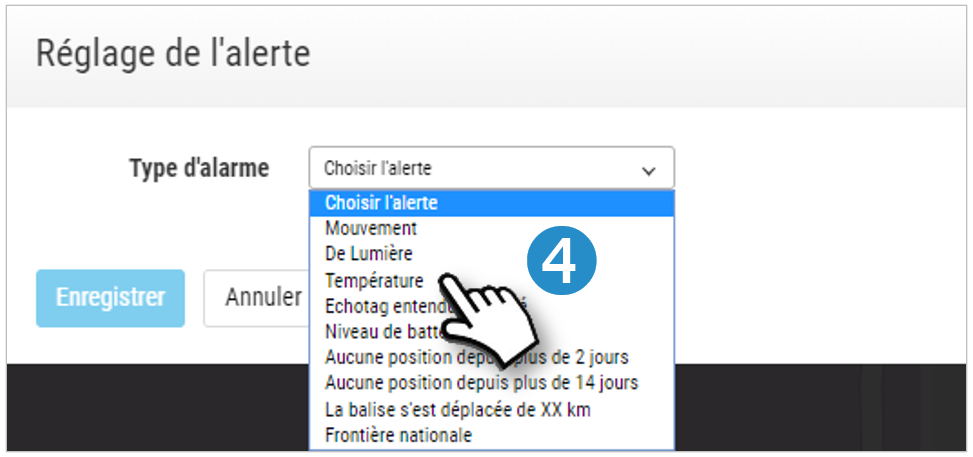
4. Select the type of alert.
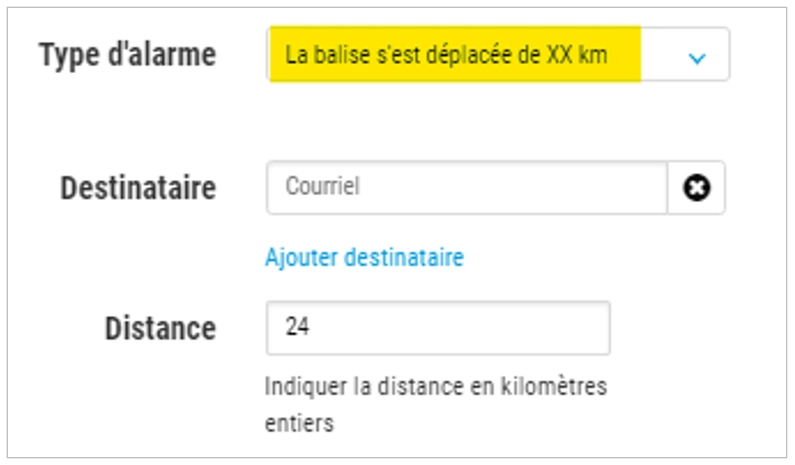
5. Enter the email address of the recipient of the alert. Click on " Add " to enter another address (10 maximum).
6. Check the box if you want to configure time stamped rules for the alert (optional):
Days of the week concerned: click to select them.
Time period concerned: enter them in the format "hh:mm".
7. Select whether you want to ACTIVATE or SUSPEND the alert. The settings will be kept for a possible reactivation.
Do not forget to SAVE your settings. The alert is created and active.
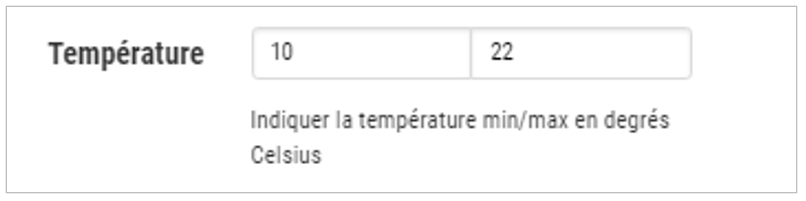
Some alerts have an additional parameter:
Temperature: enter the minimum and maximum temperatures below and above which alerts will be sent.
EchoTag: Feature related to installing an FR receiver on site and enabling FR tag monitoring. Check if you want to receive an alert for received and/or lost EchoTags.

Displacement: enter the number of km (integer) covered by the beacon since the last position beyond which you want to receive the alert (10 km minimum).
Light alert: a mail is emitted when light is detected and another when the beacon returns to darkness.
Low battery level: the alert level is set at 10%.
Modify or delete an alert
1. Click on  of the relevant alert.
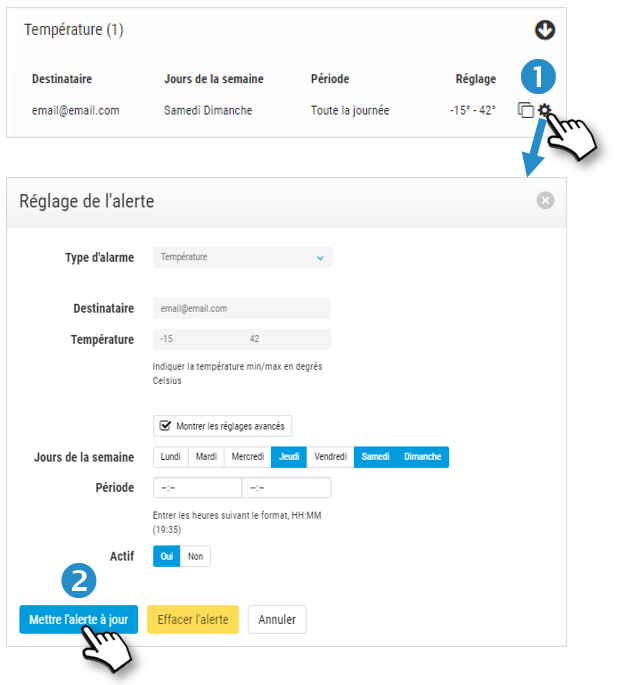
2. Edit the settings and SAVE your changes or click DELETE to remove it.
Information
You can only modify the days and times of the alert. To modify the other elements specific to the alert (email, temperature, distance...), you will have to delete the alert and create another one.
Duplicate an alert
This feature allows you to extend an alert to other tags.
1. Click on  of the relevant alert.
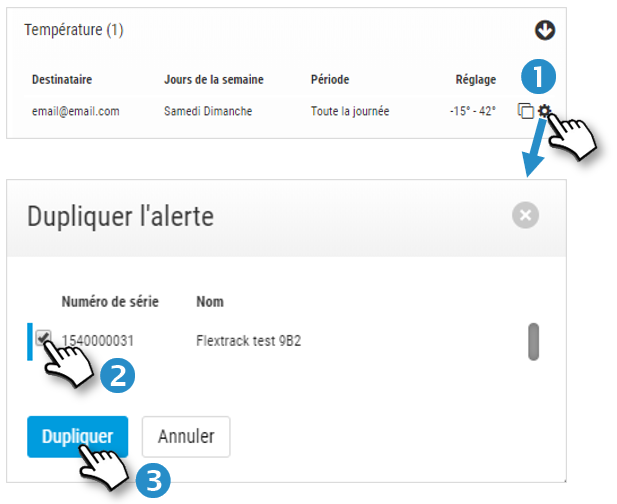
2. Check the other tags you want to add
3. Click DUPLICATE to SAVE.
Was this article helpful?